
Do-it-yourself power frame with bars: step-by-step assembly instructions
2026-08-22
- Why DIY Power Rack Is a Smart Choice for Your Home Gym
- Required materials and tools: technical minimum
- Step-by-step instructions: from cutting to final assembly
- Technical characteristics and safety requirements
- Expansion of functionality: horizontal bar and loops
- Economic justification and comparison with ready-made solutions
- When DIY gives way to professional equipment
- Frequently Asked Questions
- Conclusion and next steps
Why DIY Power Rack Is a Smart Choice for Your Home Gym
Assemblyсиловой рамы с брусьями своими руками: пошаговая инструкция по сборкеallows you to save up to 60% of your budget compared to purchasing ready-made factory equipment. In our practice of working with private clients and small fitness studios, we have repeatedly observed how enthusiasts were faced with the problem of instability of structures purchased from unverified manufacturers. A homemade frame, designed taking into account individual anthropometric data and available space, often surpasses mass-market analogues in rigidity and durability. The key advantage here is quality control of welds and metal thickness.
Many people mistakenly believe that industrial equipment is required to create a reliable power complex. This is wrong. It is enough to have basic skills in working with a welding inverter, an angle grinder (“grinder”) and a measuring tool. The main task is to ensure geometric accuracy and use a profile pipe of sufficient cross-section. If you plan to work with weights over 150 kg, saving on material is unacceptable. We recommend using St3sp steel or similar structural steels, which are widely available on the Russian metal market.
Before starting work, it is critical to prepare a drawing. The lack of a detailed diagram is the most common cause of errors that lead to misalignment of the entire structure. At this stage, determine the height of the racks, the width of the opening and the location of the mounting holes for the rod. Please note that the standard hole pitch is 50–75 mm. This provides the flexibility to customize for different exercises, from squats to standing presses. Remember: an error in calculations at the drawing stage will cost more than reworking the assembly during welding.
Required materials and tools: technical minimum
To build a stable power rack, you will need a specific set of materials. Using unsuitable rolled metal will result in play and potential structural failure under load. Below is a list based on our experience building over 50 similar projects of varying complexity.
- Profile pipe:The main load-bearing element. We recommend a square pipe with a cross-section of 50×50 mm or 60×60 mm with a wall thickness of at least 2 mm (optimally 3 mm). For horizontal lintels and beams, a pipe of 40×40 mm or 30×30 mm is suitable. The length will vary depending on your project, but typically around 24-30 linear meters are required.
- Sheet metal:Plates 4–5 mm thick for strengthening the attachment points of the bars and making holders for the barbell (J-hooks). You will also need small pieces to plug the ends of the pipes.
- Fasteners:M12 or M14 bolts of strength class 8.8 for adjustable rod stops. Nuts with a nylon ring prevent spontaneous unscrewing due to vibration.
- Consumables:Electrodes for welding (diameter 3–4 mm) or welding wire for a semi-automatic machine. Grinding wheels for angle grinders (flap discs with grit P60–P80).
The tools should include a welding machine (DC inverter with a power of 160 A or more), an angle grinder, a drill with a set of metal drills (it is especially important to have a high-quality drill with a diameter of 12–14 mm), a tape measure, a construction square and magnetic squares for fixing parts during welding. Having a planer or a powerful vice will greatly simplify the processing of the ends, but you can get by with manual stripping.
Pay special attention to protection. An automatic darkening welding helmet, gaiter guards and a respirator are required. When cutting and grinding metal, fine dust is generated that is harmful to the lungs. Don't neglect safety precautions: one accident can stop a project for months. Check that the welding machine is properly grounded before starting work.
Step-by-step instructions: from cutting to final assembly
Creation processсиловой рамы с брусьями своими руками: пошаговая инструкция по сборкеrequires a strict sequence of actions. Violation of the order of operations often leads to the accumulation of internal stresses in the metal, which causes deformation of the frame after the welds have cooled.
- Marking and cutting the profile.
Start by cutting the main vertical posts. Their length is usually 2200–2400 mm. The horizontal braces (top and bottom frames) should match the width of your opening (standard 1100-1200mm inside). Use masking tape to mark the cutting lines - this will prevent the marker from slipping. When cutting, leave an allowance of 1–2 mm for cleaning. Important: all parts of one pair (left and right racks) must be identical in length with an accuracy of 1 mm. A difference in length of even 3 mm will cause the frame to wobble on the floor.
- Welding of base frames (base).
Assemble the lower and upper rectangular frames on a flat surface. Use magnetic squares to secure 90 degree angles. First, “tack” the corners with short seams of 1–2 cm. Check the diagonals with a tape measure: they should be absolutely equal. Only after this do you completely weld the seams. Cook in a staggered manner to avoid overheating one side. After cooling, clean the seams with a grinder to remove sagging. The plane must be perfect, otherwise the sheathing sheets or additional elements will not lie flat.
- Assembling a vertical frame.
Install the uprights to the bottom frame. Secure them with clamps. Weld the top frame. At this stage, the structure becomes three-dimensional. Be sure to check the verticality of the racks with a building level on both sides. The slightest tilt forward or backward is critical for safety when working with free weights. Boil all connections. To increase rigidity, it is recommended to add diagonal braces (stiffening ribs) in the upper part of the rear plane of the frame. This will reduce lateral vibrations under dynamic loads.
- Manufacturing and installation of rod holders (J-Hooks).
This is the most responsible node. The holders must withstand shock loads when the rod is removed. Cut out “hook” shaped plates from a sheet of metal 4–5 mm thick. Reinforce them with triangular scarves made of the same metal. Drill holes for the mounting bolts to the posts. The pitch of the holes on the racks should be uniform. We recommend using welded nuts or through bolts with wide washers. Check that the holders move smoothly over their entire height. They should not get stuck or have excessive play. Backlash of more than 2 mm is unacceptable.
- Integration of bars.
The bars can be stationary (welded) or removable. For versatility, it is better to make them removable. Make two L-shaped brackets from 40x40 mm pipe. The length of the horizontal part of the beams is 500–600 mm, the height of the vertical part for insertion into racks is 150–200 mm. In the racks at the desired height (usually just above chest level when standing), weld receiver sleeves from a larger diameter pipe or square groove profiles. Make sure that the distance between the bars is comfortable for your shoulders (standard 550–650 mm). Be sure to seal and sand the edges of the beams so as not to damage your palms.
- Finishing and anti-corrosion protection.
Carefully clean all welds, remove scale and burrs. Degrease the surface with solvent. Apply metal primer and then two coats of enamel. Alkyd or acrylic paints are well suited for home use. If the frame will be parked in a garage where temperatures fluctuate, consider having it powder coated by a specialist body shop to provide a scratch- and sweat-resistant finish. Before painting, cover the screw holes with masking tape.
Common beginner mistakes and how to avoid them
In our practice, we have seen many homemade designs, and 80% of the problems arose due to ignoring the geometry. The first mistake is welding “by eye” without checking the diagonals. Result: the frame is crooked, the bar rolls to the side. The second mistake is using a thin-walled profile (less than 1.5 mm). Such metal quickly burns through during welding, and under load it begins to “breathe” (deform), which creates a dangerous spring effect. The third mistake is the lack of plugs at the ends of the pipes. Moisture and dust get inside, causing corrosion from the inside, which cannot be noticed until the moment of destruction.
Another important point is fastening to the floor. Even a heavy frame weighing 100+ kg can tip over if the barbell is not moved at the top points. Be sure to provide anchorage for the bottom frame to the concrete floor. Use chemical anchors or expansion dowels with a length of at least 100 mm. If the floor is wooden, attach the frame to the joists through metal plates that distribute the load.
Technical characteristics and safety requirements
The finished load frame must meet certain performance standards. Although there are no strict legislative standards for home use, as there are for industrial exercise equipment (GOST 30133-95 “Sports Equipment. Safety Requirements”), it is reasonable to adhere to these parameters to guarantee personal safety.
| Parameter | Recommended value | Why is this important |
|---|---|---|
| Maximum load | up to 300 kg | The safety factor should be at least 1.5 times your working weight. |
| Hole pitch | 50–75 mm | Provides precise height adjustment for different heights and exercises. |
| Hole diameter | 12–14 mm | Fits standard Olympic discs and mounting bolts. |
| Internal opening width | 1100–1200 mm | Enough for free back squats. |
| Ceiling beam height | minimum 2300 mm | Allows you to perform muscle-ups on parallel bars and overhead presses. |
Please note compatibility with Olympic standard. The distance between the inner surfaces of the stands should allow free placement of a 220 cm long bar with discs. The standard diameter of the holes for the fingerboard in the holders should be 50–51 mm. If you are using non-standard bars, measure their diameter in advance and adapt the seats.
Safety also depends on the floor covering. It is strongly recommended to lay rubber mats 10–20 mm thick under the load frame. They dampen vibration, protect concrete from cracking when weight falls, and provide better traction for shoes. Source:GOST R 55527-2013regulates the general requirements for sports equipment, which should be taken into account when assessing the build quality.
Expansion of functionality: horizontal bar and loops
The power frame is a base that is easy to upgrade. Most users eventually want to add pull-ups. The easiest way is to weld the crossbar to the top rear of the frame. Use a round pipe with a diameter of 30–35 mm. It should protrude beyond the dimensions of the frame so that the head does not rest against the structure when pulling up with a wide grip. Be sure to reinforce the place where the crossbar is attached with additional gussets, since the dynamic load when doing pull-ups with a jerk is much higher than the static one.
For fans of functional training, it is useful to provide attachments for gymnastic rings or TRX loops. These can be simple hooks welded into the top beam, or removable brackets. The main requirement is the absence of sharp edges at the points of contact with the belts. Rubber and fabric quickly rub against untreated welds, which can lead to injury during exercise.
If you plan to use rubber shock absorbers, add some small pegs (loops) to the bottom of the rear struts. This will allow you to securely fix one end of the expander while performing rows and presses. Little things like this turn a simple frame into a multifunctional CrossFit complex.
Economic justification and comparison with ready-made solutions
Why is it worth spending time on assembly rather than buying a ready-made one? Let's do the math. The average price of a high-quality power frame from a well-known brand in Russia starts from 40,000 – 60,000 rubles. Budget Chinese analogues cost 20,000–30,000 rubles, but often have thin metal (1.2–1.5 mm) and poor quality of painting. The cost of materials for self-assembly (pipe, electrodes, paint, fasteners) will be about 12,000 - 18,000 rubles, depending on the region and prices for rolled metal. The savings are obvious.
In addition to the financial benefits, you get a product that fits perfectly into your space. Factory frames have fixed dimensions. A homemade structure can be made narrower if the room is cramped, or higher if the ceilings allow. You choose the color that matches the interior, rather than putting up with the only option offered.
However, there are also disadvantages. The main disadvantage is labor intensity. You will need 2-3 full working days for purchasing, cutting, welding and painting. You also need access to the tool. If you don't have a welding machine, renting or purchasing one will increase costs. But even taking into account the purchase of an inexpensive inverter, the total cost will remain below the market price of the analogue, and you will keep the tool for future projects.
When DIY gives way to professional equipment
DIY is a great choice for enthusiasts, but it's important to understand the limits of this approach. If you are planning to open a commercial hall or want to get equipment that will last for decades without the slightest play and with perfect aesthetics, you should pay attention to solutions from the world's leading manufacturers.
A striking example of this approach is the company's productsSHANDONG KINGSTAR SPORTS FITNESS CO.,LTD,. Founded in 2000 in Rizhao, China, this professional enterprise specializes in the design and export of premium sports equipment. Occupying an area of more than 60,000 m², the company combines engineering competencies and advanced production facilities, including robotic welding and laser cutting lines.
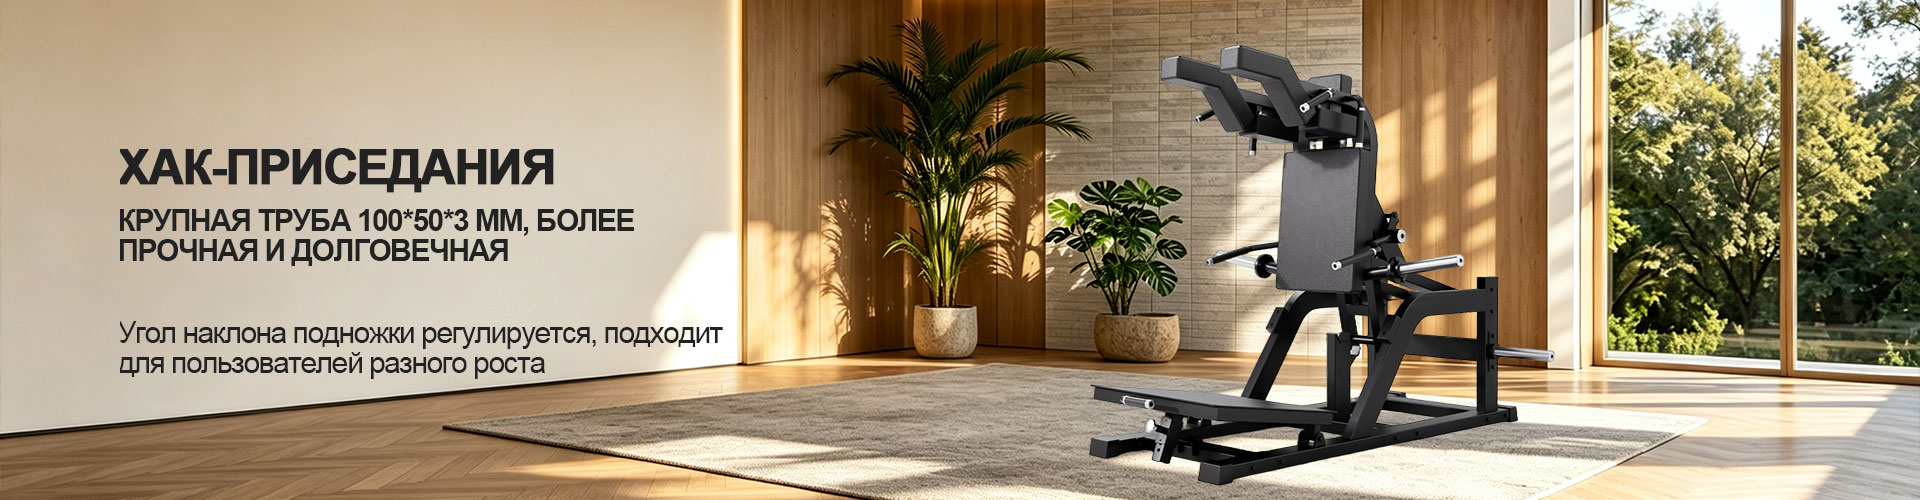
Unlike garage assembly, where precision depends on the hand of the craftsman, in KINGSTAR (the company's brand) factories, every step is controlled by the ISO 9001 system. For example, their Smith multifunctional trainer (model HS055I) or hacking machine (PL71A) are manufactured to tolerances that are unattainable at home. The use of automatic electrostatic spraying ensures a finish that is resistant to heavy wear and sweat, which is critical for commercial applications. Moreover, the company offers solutions in ODM and OEM formats, allowing equipment to be tailored to the unique needs of fitness centers around the world, supplying more than 60 countries.
The choice between self-assembly and purchasing equipment from such giants as Shandong Jianzhixing depends on your goals: savings and the creative process versus guaranteed reliability, ergonomics and professional-level status.
Frequently Asked Questions
What thickness of metal should I choose for the frame?
For home use with working weights up to 150–180 kg, a 50×50 mm profile pipe with a wall thickness of 2 mm is sufficient. If you are a powerlifter lifting weights of 200kg or more, or if you just want durability that will last, choose a 3mm wall thickness. A pipe with a thickness of 1.5 mm is categorically not recommended for load-bearing racks - it is too susceptible to deformation and is difficult to weld without experience.
Do I need to reinforce the frame to the floor?
No, betting (embedded in concrete) is an outdated and impractical method. It makes it impossible for you to move the machine. The modern standard is anchor fastening. Drill holes in the floor through the bottom frame and secure it with heavy-duty anchor bolts (chemical or mechanical). This provides the necessary stability and allows the structure to be dismantled if necessary.
Is it possible to make the frame collapsible?
Yes, but this complicates the design and reduces its rigidity. Collapsible connections require precise drilling of holes and the use of high-strength bolts. Micro-plays will inevitably appear at the joints, which will increase over time, causing creaking. For the home frame, we recommend all-welded construction. If you need mobility, make the frame from two separate L-shaped racks connected only by a barbell and parallel bars, but this is less safe for heavy squats.
How to protect the frame from rust in the garage?
In an unheated garage, humidity changes, which provokes corrosion. The best protection is high-quality surface preparation (cleaning to white metal, degreasing) and applying a primer containing zinc or phosphates. On top, use a wear-resistant paint, such as hammer enamel. It hides minor welding defects and is very resistant to mechanical damage. Wipe the frame regularly with a dry cloth after training to remove sweat.
Conclusion and next steps
Assemblyсиловой рамы с брусьями своими руками: пошаговая инструкция по сборкекоторой представлена выше, — это инвестиция в ваше здоровье и долгосрочную экономию. Вы получаете надежный, персонализированный тренажер, который прослужит десятилетия. Ключ к успеху — не спешить на этапе разметки и не экономить на толщине металла. Ошибки, допущенные в начале, трудно исправить в конце.
Мы рекомендуем начать с закупки материалов и подготовки чертежа в масштабе 1:1 на полу гаража. Это поможет визуализировать конструкцию и проверить эргономику. Если вы сомневаетесь в своих навыках сварки, потренируйтесь на обрезках труб перед сборкой чистовых узлов. Качество шва напрямую влияет на безопасность.
После завершения сборки не забудьте протестировать раму с постепенным увеличением нагрузки. Начните с пустого грифа, затем добавьте небольшие веса, проверяя устойчивость и отсутствие скрипов. Только после уверенного прохождения тестов переходите к полноценным тренировкам. Если вам нужны дополнительные аксессуары, такие как помост или держатели для дисков, их также можно изготовить самостоятельно, используя оставшиеся материалы.
Для получения более детальных чертежей и консультаций по выбору материалов вы можете изучить наши дополнительные руководства.Проектирование домашнего спортзала: основы эргономики. Свяжитесь с нами сегодня, если у вас возникнут вопросы по специфике сварки конструкционных сталей.